The Low-Voltage Rough-In Checklist Every GC Wishes They Had
· Erik Short
Quick answers
When should low voltage rough-in happen? After framing and MEP rough, before insulation and drywall — you want walls open, and you want the low-voltage contractor walking the job with the electrician, not after him.
What does a low voltage rough-in actually include? Back boxes and mud rings, conduit and sleeves, J-hooks or cable tray, home-run cable pulled with service loops, door prep and power-transfer hardware, and a network closet with power, backboard, and cooling.
Who is responsible for low voltage pathways — the EC or the low-voltage contractor? Usually the electrician furnishes and installs boxes, conduit stubs, and sleeves; the low-voltage contractor pulls and terminates cable. That split has to be written down before rough-in or it becomes a change order.
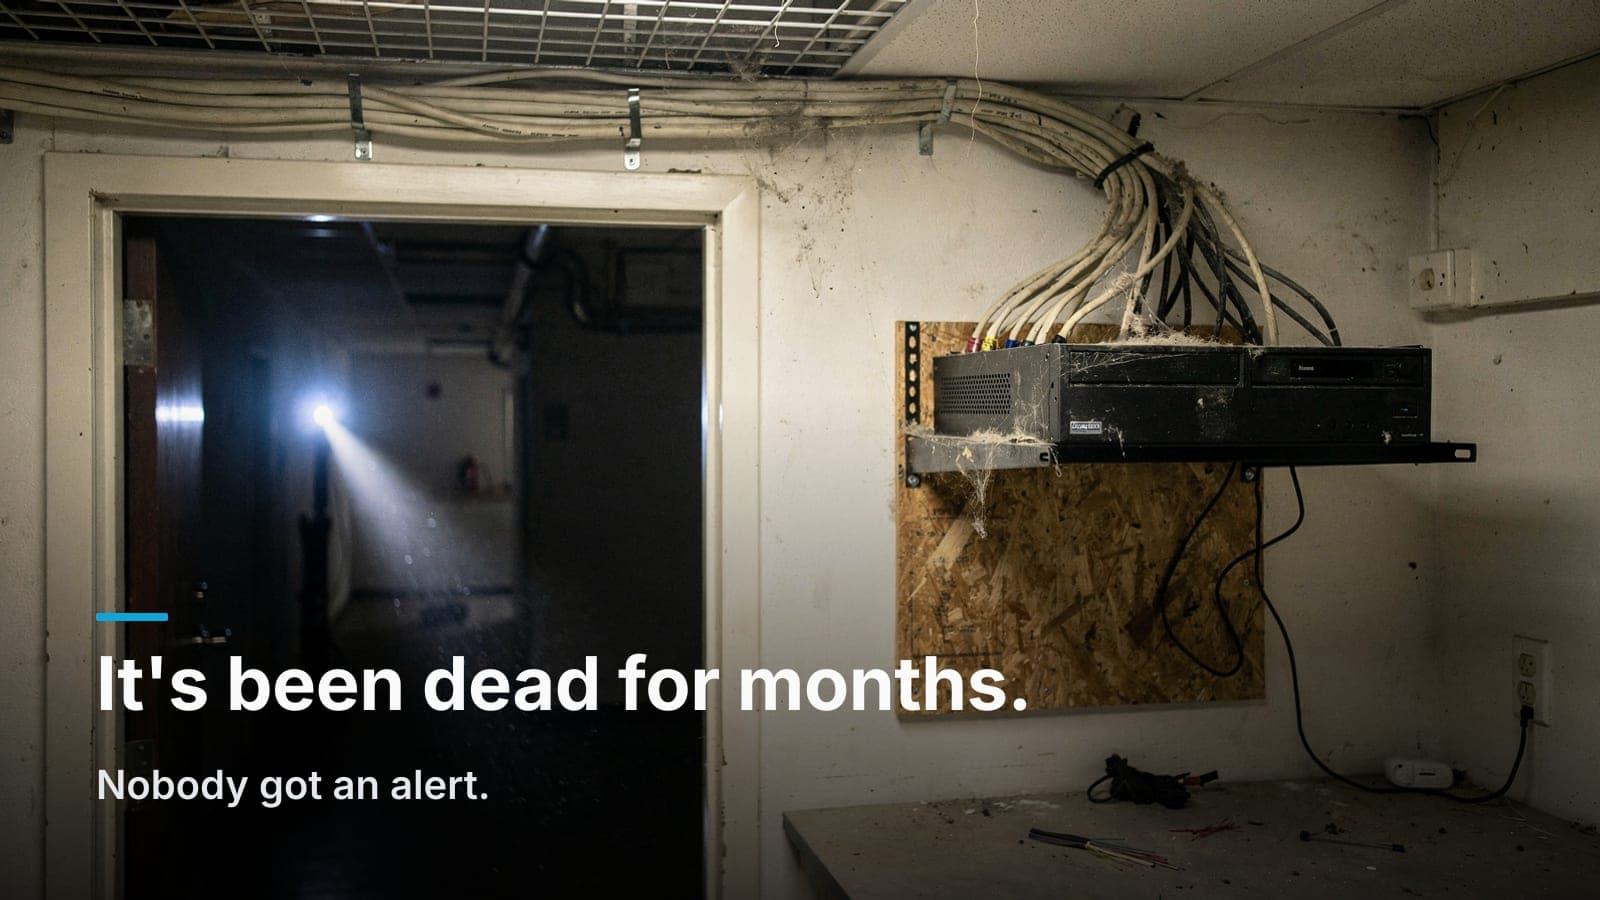
What's the single most common rough-in miss? The network closet — undersized, no dedicated circuit, no cooling, and a door that swings the wrong way into the rack.
How early should the camera and access control layout be final? Before rough-in. Moving a camera after drywall is a patch-and-paint change order every single time.
Most of the low-voltage change orders I write in the Treasure Valley aren't because somebody made a bad decision. They're because nobody made a decision at all, and now the drywall's up.
A camera location that would have cost twenty minutes at rough-in becomes a two-hour job with a drywall patch, a paint touch-up, and a scheduling conversation. Multiply that by nine cameras, four access-controlled doors, and a dozen APs, and you've turned a clean job into a punch list.
So here's the checklist. Not a marketing PDF behind an email form — just the actual list I'd hand a GC or an owner's rep at the pre-construction meeting. Print it, mark it up, argue with your low-voltage guy about it. That argument is the whole point.
Before anything: get the low-voltage contractor into the coordination meeting
The single highest-leverage thing on this list costs nothing. Have the low-voltage contractor in the room during MEP coordination, not after.
GC low voltage coordination fails in predictable ways:
- The electrician runs conduit through the exact ceiling space where the cable tray was going.
- The mechanical contractor puts a duct in front of the only wall where the rack fits.
- The door hardware schedule gets released without electrified hardware on the access-controlled doors.
- The IDF closet gets shrunk during value engineering because "it's just a closet."
Every one of those is cheap to fix on paper and expensive to fix in the field. If your low-voltage contractor won't attend coordination meetings or won't red-line a reflected ceiling plan, that tells you something.
Ask for these three deliverables before rough-in:
- A marked-up floor plan with every device location — cameras, APs, data drops, card readers, intercoms, displays, speakers.
- A pathway plan — where conduit, sleeves, and tray or J-hook runs go, with fill percentages that leave room.
- A closet elevation — what actually goes on the wall or in the rack, drawn to scale.
If you have those three, the rest of this checklist mostly takes care of itself.
1. Pathways and conduit: size for the building, not the drawing
Pathway is the cheapest thing you'll ever install and the most expensive thing to add later. Rules I hold to:
- Sleeve every rated wall you cross. Firestopped sleeves with room for future pulls. A 4" sleeve costs almost nothing during rough-in and saves a firestop contractor call in year three.
- Conduit stub-ups from every wall device to accessible ceiling. Minimum 3/4" for a single data drop, 1" if there's any chance of a second cable or a thicker jacket. In exposed structures or hard-lid ceilings, conduit isn't optional — it's the only way anything gets added later.
- Don't fill a pathway past about 40%. A conduit that's technically full at rough-in is a conduit that's actually useless at year two.
- Above accessible ceilings, use J-hooks or tray — not zip ties to the strut. Cable resting on ceiling grid or draped over ductwork is a code problem and a performance problem, and every inspector in the valley knows it.
- Plan a vertical pathway between floors. Two 4" sleeves minimum in a multi-story TI, stacked, in the IDF closet. Sleeves you don't use cost you nothing.
- Separation from power. Keep parallel runs of unshielded copper away from conduit carrying line voltage, and cross at 90 degrees when you have to cross. A few inches of separation at rough-in avoids a noise problem nobody will ever be able to diagnose after the fact.
For exterior camera runs on tilt-up or metal buildings, get the penetration locations approved before the building envelope is closed. Coring a finished panel is a different conversation than sleeving one that's still on the ground.
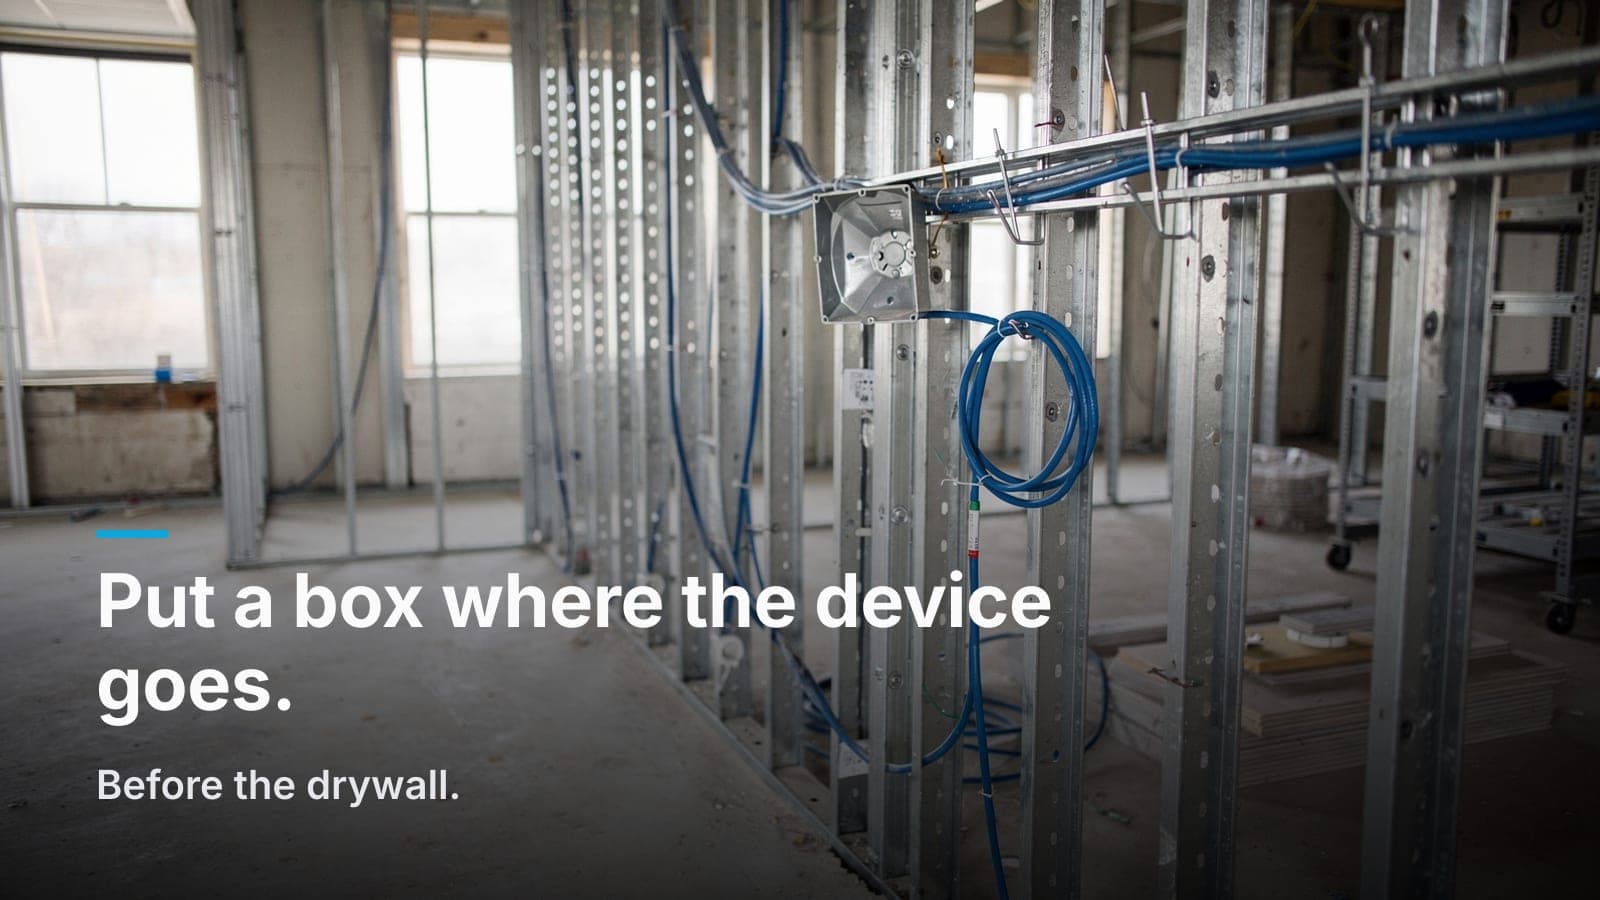
2. Camera and AP box locations: put a box where the device goes
The device layout is the part everybody defers and everybody regrets.
Cameras. Field of view is a design decision, not a field decision. Mounting a camera on the ceiling in the middle of a lobby because that's where the tile lands gets you a nice picture of the tops of heads. I've written a whole piece on the placement mistakes we end up fixing, but the rough-in version is short:
- Mark camera locations on the reflected ceiling plan, coordinated with lights, sprinklers, and diffusers.
- Every exterior camera gets a weatherproof back box and a stub to interior accessible space.
- Doors you actually care about — entries, back-of-house, receiving — get a camera looking at faces, which usually means lower and closer than the drawing says.
- Pull a generous service loop, 8 to 10 feet, coiled on a J-hook near the box. Aim adjustments happen at commissioning, and slack is what makes them free.
Wireless access points. APs are not a "one per conference room" item. They're a coverage-and-capacity design based on construction materials, and the drop location matters more than most people think.
- Ceiling-mount APs in open office and warehouse; wall-mount only when the structure forces it.
- Bore holes and pull the drop before insulation. Batt insulation in an exterior wall makes an easy pull into a bad afternoon.
- Warehouses need APs mounted low enough to serve the aisles, which usually means hanging brackets coordinated with racking layout. Get the racking plan.
- One drop per AP is the minimum. Two drops per AP location on anything critical, so you have a spare without opening the ceiling.
If you're deciding whether the coverage plan is real or just dots on a page, what a real Wi-Fi design pass actually catches is worth ten minutes.
Data drops. Count them twice. The template count is always low. Real numbers I use:
- Two drops per workstation, minimum. Four at any reception or shared-desk position.
- One drop per printer/MFP, one per wall display, one per TV location, one per intercom or panel.
- Two drops per conference room display wall plus one at the table for a floor box or credenza.
- Drops for the things nobody puts on the plan: door controllers, thermostats, building automation panels, digital signage, time clocks, credit card terminals, the break room TV.
Cable is cheap during rough-in and expensive forever after. If the count feels a little generous, it's probably right.
3. Door prep: the part that always gets missed
Access control failures at rough-in are almost always hardware-coordination failures, not wiring failures.
Before the door hardware schedule is released:
- Confirm which doors are electrified and what type — mag lock, electric strike, electrified lever, exit device with electric latch retraction. Latch retraction devices pull real current and need the right power supply, which is a spec decision, not a field decision.
- Power transfer hardware. An electrified lever needs an electric hinge or a door loop. That has to be on the hardware order. Nobody adds a power transfer hinge in the field for free.
- Backing and blocking. Card readers on a glass storefront mullion need a mullion-mount reader and a raceway. Readers on drywall need blocking. Mag locks need real steel backing above the frame.
- Conduit from the frame to accessible ceiling for every electrified door — hinge side to the frame head, then out. Hollow metal frames need to be prepped and conduit-stubbed before they're set and grouted.
- Request-to-exit, door position switch, and the reader, all landed back at the controller. Concealed door position switches get installed while the frame is accessible or not at all.
- Fire alarm interface. Mag locks and any fail-secure application on an egress path need an FA relay and an AHJ conversation. Do that early, not during final inspection.
- Door controller location. In the IDF, not in a ceiling above the door. Ceiling-mounted controllers are the worst kind of technical debt — undocumented, unmapped, and always above someone's desk when they fail.
If the owner is still deciding whether access control makes sense at all, the honest breakdown of keys versus card access for a small office is a good conversation starter — but the rough-in prep should happen anyway. Stubbing conduit to four doors during framing costs less than adding it to one door later. Our access control page covers what we typically spec on these.
4. The network closet: the room everybody shrinks
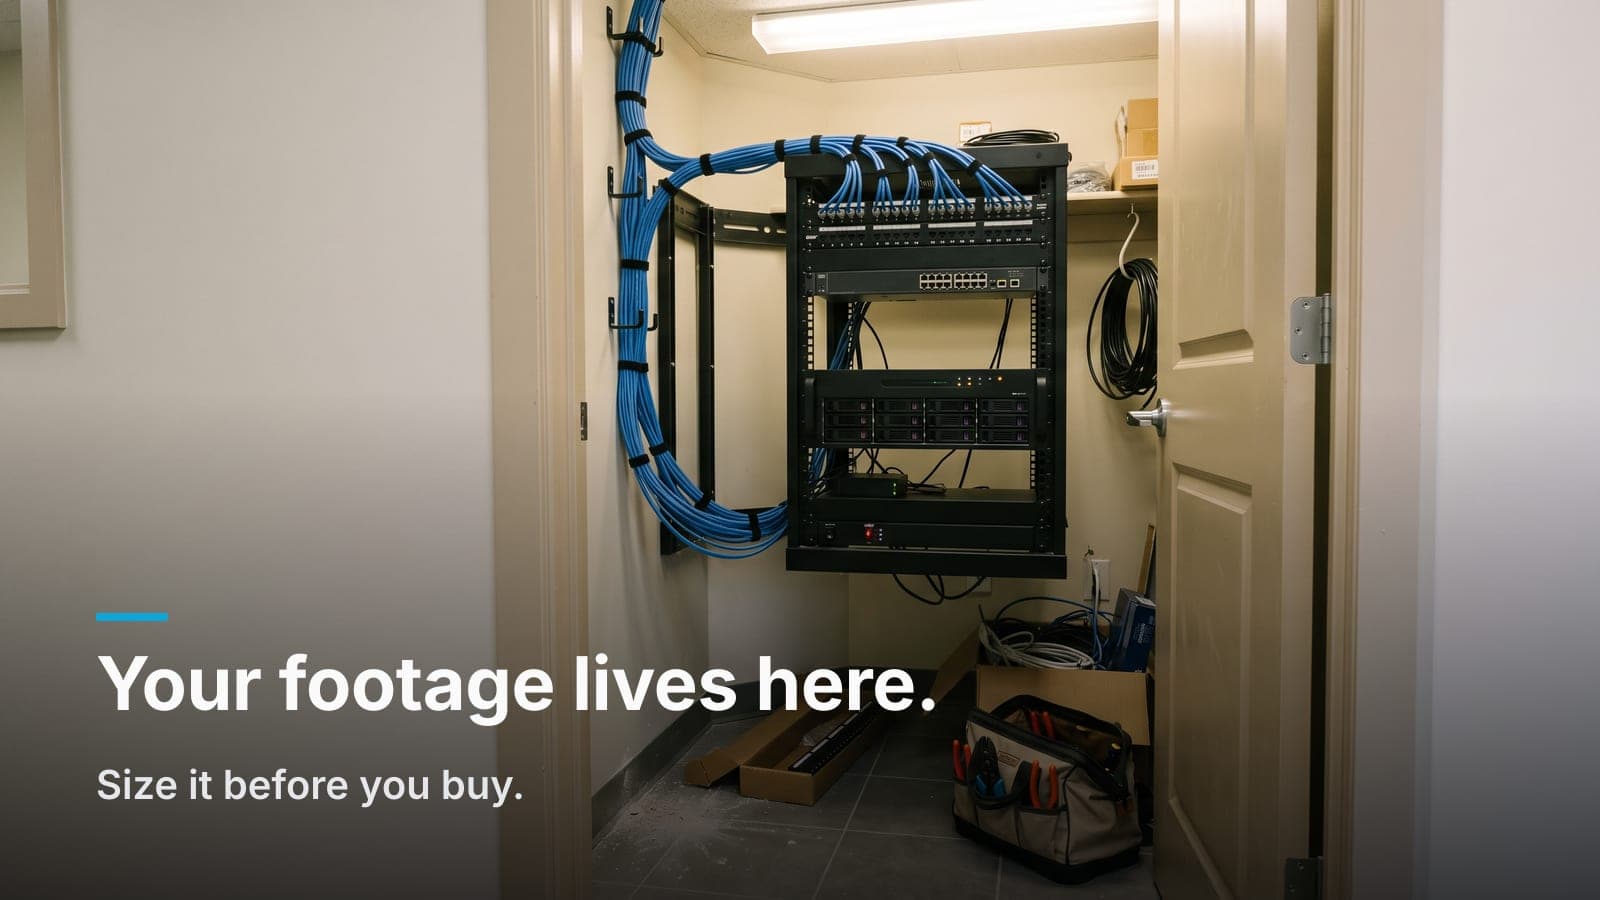
If I could fix one thing on new construction in this valley, it'd be the IDF/MDF closet. Here's what it actually needs:
| Item | Minimum I'd accept | Better |
|---|---|---|
| Floor space | 4' x 6' clear | 6' x 8' with front and rear access |
| Rack clearance | 36" front | 36" front and rear |
| Power | One dedicated 20A circuit | Two dedicated 20A circuits, separate breakers, quad receptacles at rack height |
| Cooling | Transfer grille / return | Dedicated ductwork or mini-split, thermostat in-room |
| Backboard | 4' x 8' fire-rated plywood, painted | Two walls of it |
| Ground | #6 to building ground, TGB | Same, documented |
| Lighting | Overhead fixture with switch | Fixture placed so it isn't blocked by the rack |
| Door | 36" swinging out | 36" out-swing, lockable, no louvers into a clean space |
Additional things that get missed constantly:
- No plumbing above or through it. Ever. This should be on the architect's checklist and it usually isn't.
- Not a janitor's closet. Shared storage means someone will stack boxes on your UPS.
- Not in a chase you can't get a 42U rack into. Measure the path, including the door swing and any turn.
- Cable entry. Sleeves or ladder rack into the room, in the corner where the rack lands, not on the opposite wall.
- Heat load math. A rack full of PoE switches feeding thirty cameras and twenty APs is a space heater. If the switches are pushing several hundred watts of PoE budget, that heat has to go somewhere.
Central Idaho summers are real. I've been in second-floor closets in Meridian in August where the switch was thermal-throttling by 2 p.m. because the "cooling plan" was leaving the door propped open.
5. Cable spec and labeling: decide once, at the beginning
- Pick your category now. Cat6 handles the great majority of commercial work; Cat6a earns its cost in specific places — long PoE runs, high-density AP drops, anywhere you're pre-wiring for a decade of unknowns. I laid out exactly where we draw that line if you want the reasoning rather than the rule.
- Plenum vs. riser. If the ceiling is a return air plenum, it's plenum-rated cable, full stop. Nobody wants to find out at inspection.
- Label at both ends, at rough-in. Written on the jacket with a paint pen or a printed wrap. Cable pulled with no label is cable somebody re-toned later at your expense.
- Fiber between buildings and between IDFs. Single-mode if there's any chance of a longer run or a future upgrade. Pull it during rough-in even if you're not lighting it yet.
- Service loops everywhere — at the device and in the closet. Ten feet at the rack end lets a rack get re-arranged without re-terminating.
- Photograph the walls before drywall. Every wall, with a tape measure in frame near key devices. This costs one hour and pays for itself the first time somebody needs to find blocking or a junction box.
6. The counts a template always misses
Run through this list against your device schedule. These are the ones I find missing:
- Break room and lobby TV drops
- Exterior gate, dock door, and overhead-door control drops
- Video intercom at the front door — power, drop, and a mounting box at the right height
- Conference room floor boxes (coordinate with the slab pour — this is a hard deadline)
- Ceiling speakers and paging horns, plus the amp location in the IDF
- Elevator lobby camera and elevator machine room drop
- Fire alarm and elevator phone lines
- Guest Wi-Fi AP in outdoor patio or yard areas
- Spare capacity: 20% extra drops in open office, 25% spare pathway
That last one is the difference between a building that adapts and a building that fights you. Twenty percent spare capacity at rough-in is a rounding error on a construction budget. Adding it in year four is a project.
What this checklist is really preventing
Every item above is a change order that didn't happen. A camera that's already in the right spot. A door that already has conduit to it. A closet that doesn't need a mini-split retrofitted into it eighteen months after occupancy.
The buildings I service that are easy to work in are almost always the ones where somebody walked the job before drywall with a plan in their hand. That's the whole trick. There's no proprietary method to it — just a low-voltage contractor who shows up early, marks up the drawings, and puts a box where the device goes.
Frequently asked questions
Can the electrician just pull the low-voltage cable?
Some can and do, especially on smaller TIs. But cable pulling is the easy part — the value is in the design, the terminations, the testing, and the commissioning. If the EC is pulling, make sure someone owns the device layout, the certification testing, and the head-end configuration, and that it's clear in the contract who that is.
Do rough-in cables need to be tested before drywall?
You can't fully certify a cable until it's terminated, but a continuity check or a toner pass before the walls close is cheap insurance. A cable damaged by a drywall screw is far easier to deal with when the wall is still open. Full certification testing with a channel tester should happen after termination, and you should get the test reports.
What if the tenant isn't selected yet on a spec build?
Rough in pathway, not devices. Sleeves through rated walls, conduit stub-ups to accessible ceiling, a real IDF closet with power and backboard, and vertical risers between floors. Pathway is tenant-agnostic and lets whoever moves in do a fast, clean fit-out.
How much lead time does a low-voltage contractor need before rough-in?
Two to three weeks for a straightforward TI if the design is settled, longer if there's electrified door hardware involved — those lead times run with the door package and can be long. Bring the low-voltage contractor in at design development, not at framing.
Does the camera system need to be selected before rough-in?
Not the exact model, but the platform decision matters. Some systems are all-PoE with an on-site recorder, others are subscription-based with different power and bandwidth assumptions. If you're weighing that call, we wrote up the honest tradeoffs. Either way, box locations and drop counts should be locked before the walls close.
If you've got a job going to rough-in in the Treasure Valley, we'll walk it with you and mark up the plans before drywall — get a site walk and a fixed quote.